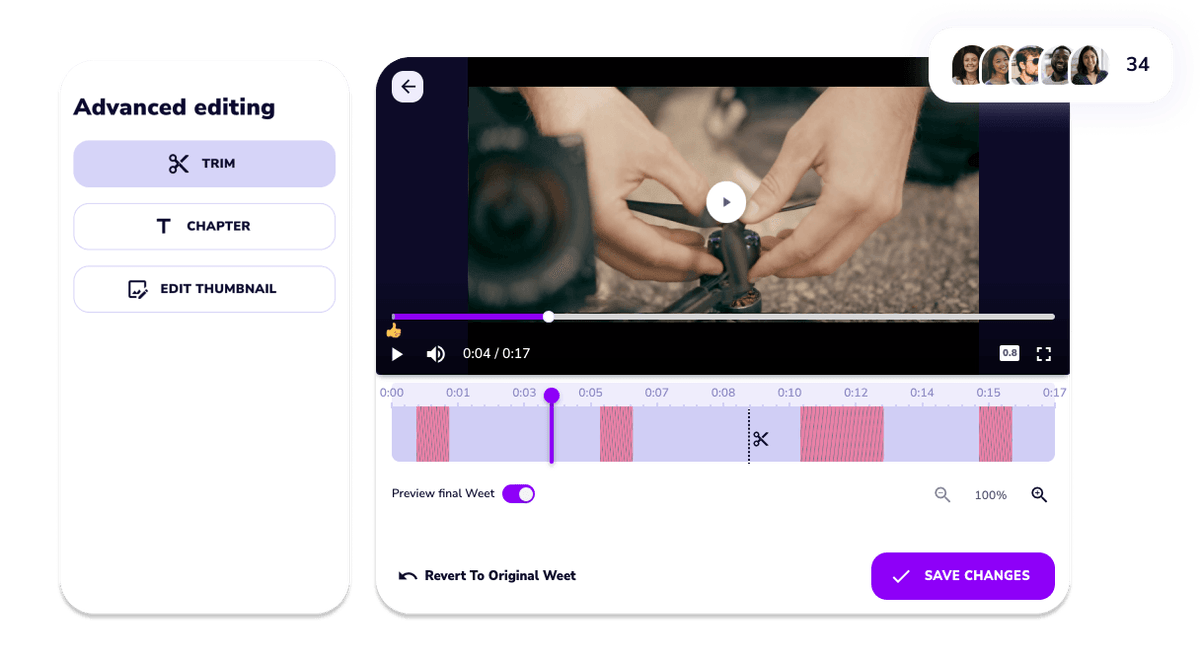

First off, create a weet by recording a new video or uploading video files. Then, select "Preview" when you are ready to trim. Remember that you can always go back and edit your weet - even after you've saved and shared it!
From the Advanced Editing menu, select the option to trim your video. Using the purple timer slider select where you want to trim, then click and drag the edges to adjust the timing. Trim as many times as needed, or use Magic Trim to do it for you! Then click "Save Changes."
On the final Weet editing screen you'll have the option to share and save your video. In the text box to the right you can enter email addresses, names of Weet users, and Channels. Click "Share," then "Finish!" You can also choose to download the video.


Weet's remove filler feature is a great way to make your video tutorials more concise and engaging. It automatically detects and removes parts of your video that are not relevant or important, such as pauses, filler words, or repetitions. You don't have to manually trim your video or worry about editing mistakes. The remove filler feature does all the work for you and saves you time and hassle. It also enhances the quality and clarity of your video tutorials. Weet is the perfect tool for anyone who wants to create effective and informative video tutorials.
Weet is so much more than a tool for removing video filler - it's a platform that enables you to create and edit captivating videos in a matter of minutes. You can capture your screen, webcam, or both, and adjust or duplicate your videos. You can also eliminate annoying background sounds and add interactive annotations to your videos. Weet simplifies video creation and makes it enjoyable!
